® Benjamín Juárez

7 Considerations When Recording Audio For An Interview
Recording a great sounding interview can be a lot harder than it sounds and for documentary filmmakers, investigative journalists, students, etc. The importance of having clear and audible sound in an interview is paramount. Humans tend to disengage from what their viewing if the audio quality is sub-par. Arguably, we as people tolerate bad video quality over bad sound quality. Check out this great article on ‘Why Audio is More Important Than Video Image Quality.’ And here is Audio vs. Video quality demonstrated:
Typically, videographers will spend a significant portion of set-up time on getting the right lighting, camera placement, angle, etc. Audio capturing gets left to the last minute, and poor recordings can result from this. The goal of this article is to save excellent videos from being spoiled with a dull sound. We hope to help you consistently achieve the best sounding audio possible in your video projects.
7 Considerations When Recording Audio For An Interview
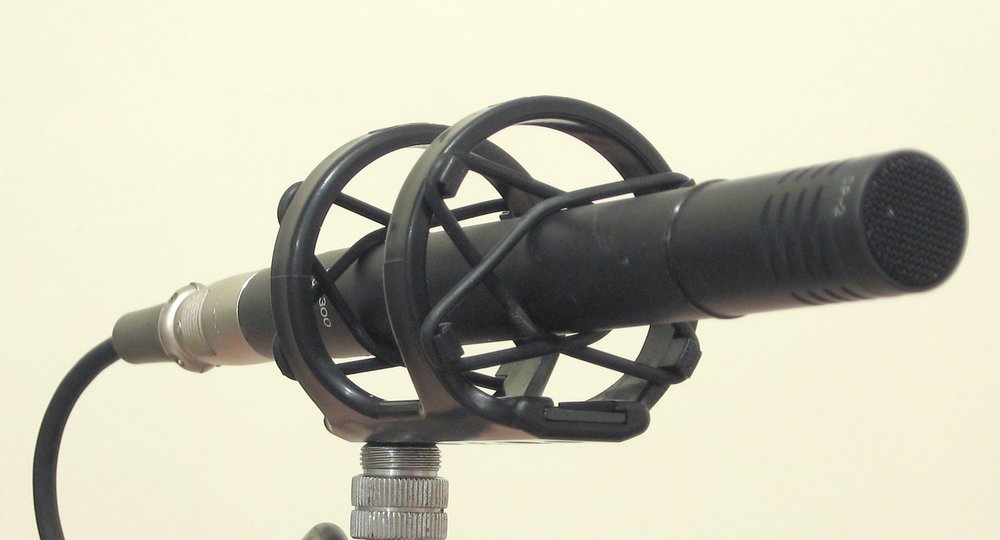
1. Use a great microphone.
A great mic is the first link in the recording chain when capturing good audio for an interview. We recommend using an external shotgun mic rather than a camera mounted shotgun mic, though these are smart to use in conjunction with the external mic as a backup. Avoid using a phone microphone or built-in mic as your main microphone for audio recording. The interviewee’s voice will sound distant and muddy when using microphones like these. There are several good manufacturers of quality shotgun mics. Albeit a little pricey, these mics are an investment. Here are some of the mics we recommend:
Audio-Technica AT897 $249.00
Rode NTG-3 $999.99 (pricier, but is an industry standard)
Sennheiser MKH416 $999.95
Rode NTG-3
2. Have a backup microphone.
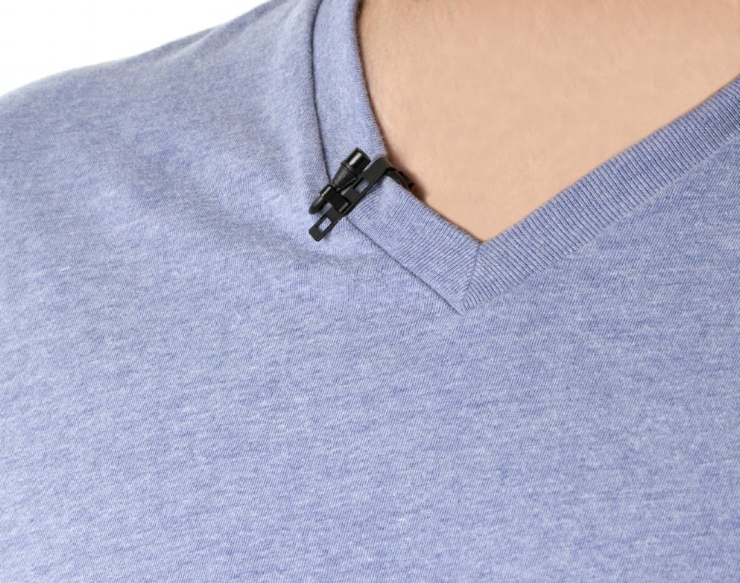
As mentioned above, it’s always, always, always useful to set-up one or even two backup microphones. The most common set-up is using the external shotgun mic as your main mic and then using a lavalier microphone as your secondary mic. Lav mics clip on to pieces of clothing like a tie or collar. They are very discreet, which is nice though they are subject to unwanted sounds from breathing, clothing, arm movements and wireless lavs can pick up radio frequencies.
It’s hard to tell until later just how things will turn out. Perhaps, clothing rubbed on the lavalier mic rendering it useless, or a bad cable (should test before filming) on the shotgun mic gave you dropouts. Whatever the case may be, that’s when you’ll be happy to have options and that the one of a kind interview is salvageable.
We recommend the following (mostly budget friendly) lav mics:
- Audio-Technica ATR-3350 $27.49
- Rode smartLav+ $78.00
- Sennheiser ME 2 $149.95
3. Invest in decent audio equipment.
Our audio recorder converts the analog signal into digital information and stores it in a high-resolution file format (wav or aiff). There are several excellent, portable audio recording devices on the market right now. Here are a few of the best:
- Tascam Dr-40 $249.00
- Zoom H4n $222.99
- Tascam DR-100mkIII $559.00
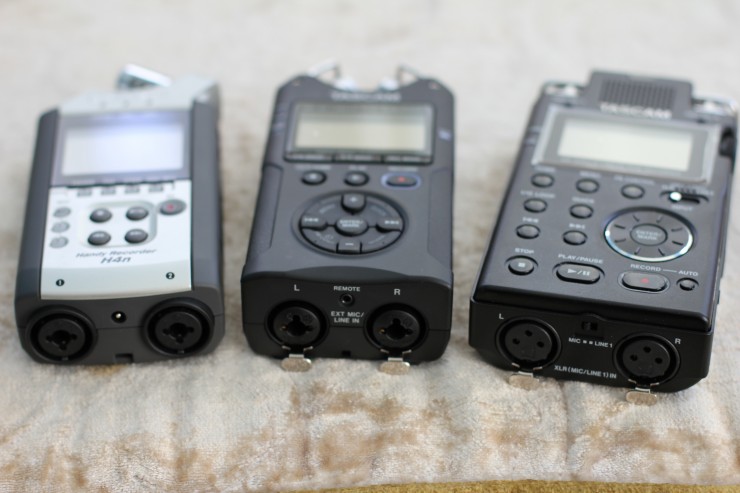
Zoom H4n, Tascam DR-40, Tascam DR-100mkIII
Zoom H4n, Tascam DR-40, Tascam DR-100mkIII
other miscellaneous items that you will need on shoot day:
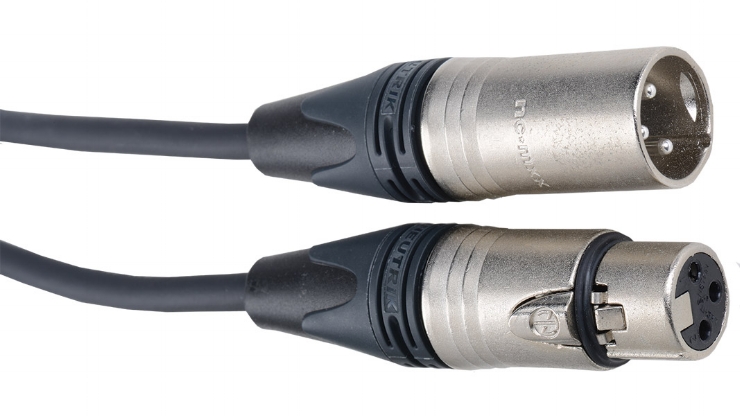
XLR cables (2) one for the shotgun mic and one for the lavalier mic. (It’s always a good idea to keep a spare XLR handy).
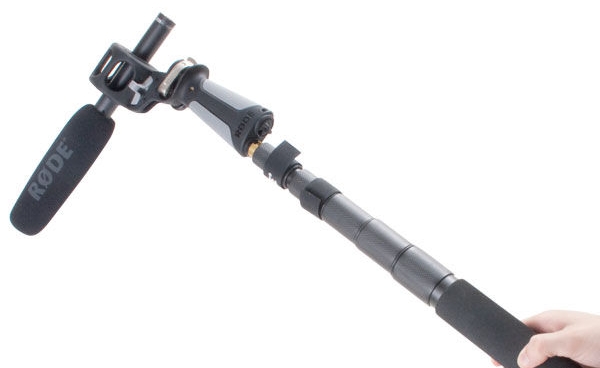
Boom pole mic stand.
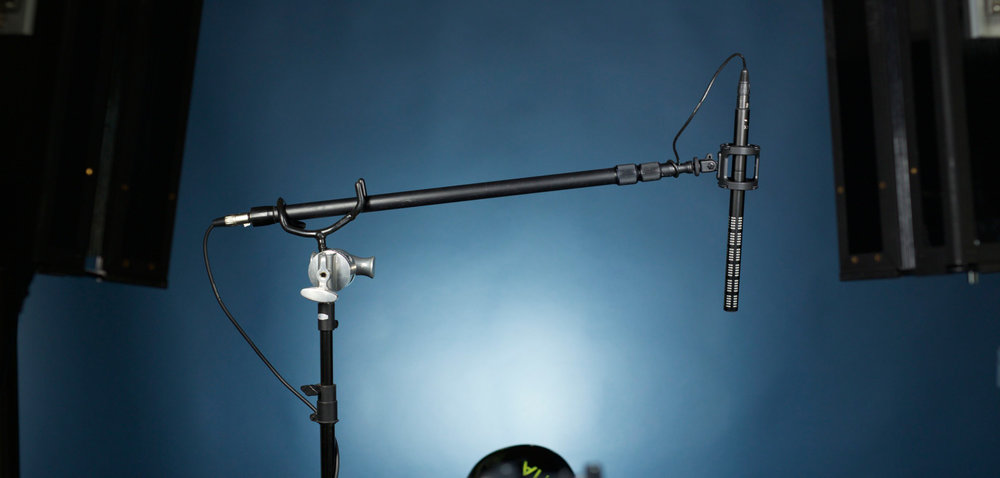
A shock mount.
mounted-on-stand.jpeg
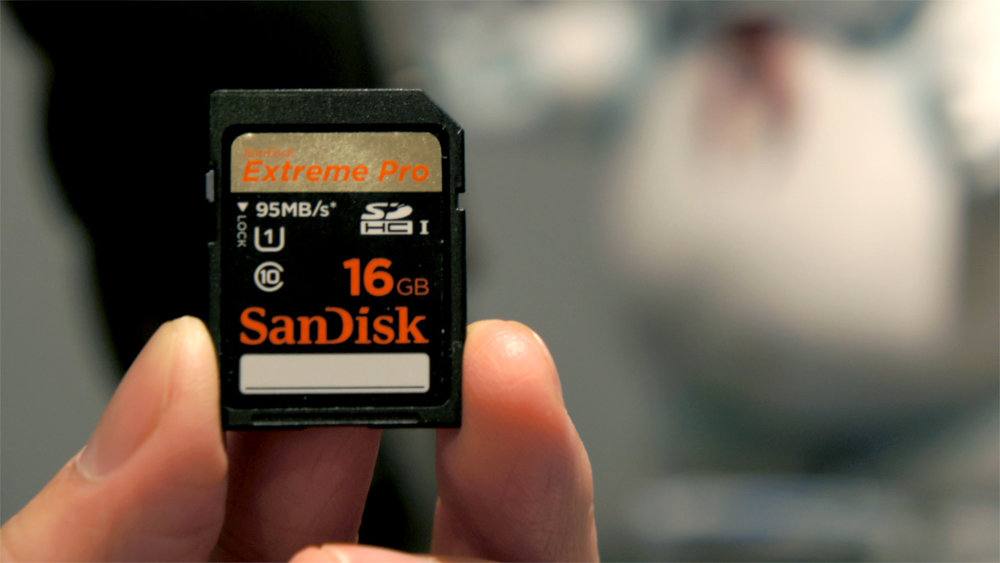
SD CARDS.
4. Choose your location wisely.
Consider conducting your interview in the office or home of the person you’re interviewing. By all means, avoid recording outdoors or in public spaces. For the simple reason that you have little to no control over the sound levels. Feel free to ask the interviewee if they have a preferred location for the interview. Their comfort is of most importance when capturing a rich and vivid interview with lots of anecdotes and personal experiences.
Quiet location ideas:
- Company conference room.
- Hotel room.
- Interviewee’s living room.
- Library.
Choosing a location where you’re in control of ambient sound and interruptions will be most beneficial to your result.
Quiet L

5. Take inventory of your gear and test it before filming.
Checking and testing equipment is simple, yet is missed too frequently due to last minute crunching and rushed set-ups. Nothing kills the vibe more than having the batteries on your recorder die mid-interview or a full SD card. Take the time to double-check that you have all your equipment before going to your interview location.
Take a few extra moments after camera and lighting set-up to run an audio test and listen to it back. You can then troubleshoot the possible unwanted ambient sounds in the room. For instance, your subject could be directly in front of a refrigerator. Your mic will pick up the distracting hum of the fridge. Re-think where the subject is sitting and adjust your mic, so it’s pointing away from the refrigerator. These seemingly minute details are overlooked quite easily when setting up and not present until you reach post-production. Take the time to run a test, and you’ll thank yourself later.
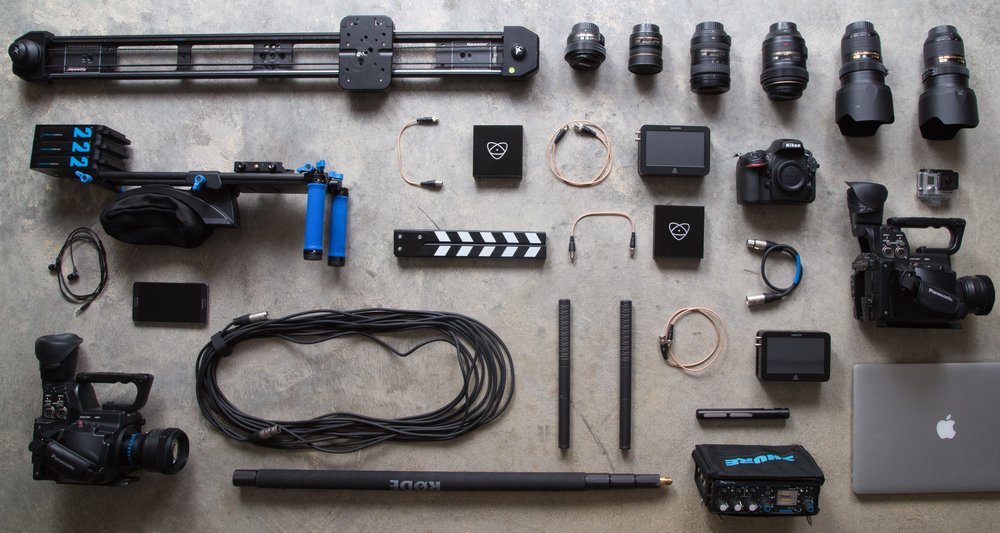
Video bag.
6. Get the mic in close and check levels.
Mic technique is a key fundamental for capturing good sound. Allow me to get technical for a moment, the polar pattern on a shotgun mic is called super cardioid, which means that the mic will pick up sound that is directly in front of them and will reject the sound coming from the sides and rear. Think of them as the audio equivalent to a flashlight. Point it directly at the subject you want to highlight.
The rule of thumb here is to get your mic (mounted on a boom pole) as close to the interviewee as possible without the mic being in the shot. Position the mic over the Interviewee’s head and have the mic pointed at their mouth.
Don’t concern yourself with recording your questions. The focus is the person you’re interviewing. Their answers are the most important to capture clearly and accurately.

Mic technique
After you’re all set-up, start getting levels on your mics (shotgun, lavalier and perhaps even the built in mic on your camera, as a backup) by increasing the pre-amplifier. What this does is increase the recording level of your microphone. Make small talk with the interviewee while you do this. During the interview keep a close eye on the recording level for spikes in volume. The interviewee could be nervous and speak louder when the red light is on, so you’ll have to lower your recording level to avoid “clipping” (distortion.) On the flipside, don’t set your recording levels too low. Make sure you’re getting a strong and healthy signal that’s peaking in the yellow LEDs of your recorder.
7. Let your subject talk.
The least technical point of this blog though worthy of mentioning is to let your interviewee answer questions fully without interruption. Refrain from interjecting with off the cuff questions or your anecdotes. Allow your interviewee a chance to process and completely respond to the question. Here are a few tips on conducting a useable interview:
- Show enthusiasm through smiling, nodding and facial expressions while the subject is answering questions. Avoid speaking.
- Ask for anecdotes to elicit a rich story.
- Plan your questions to get the best story from the interviewee.
- Save tough questions for the end.
- Ask double direct questions to get complete answers. (i.e. "Do you think that there is a real market for the product and that it will sell well?")
- Do your homework on your interviewee.

Thanks for taking the time to read this post. There is a lot to cover in this subject and I hope you've found this to be a good starting place for interview recording. Let me know your thoughts by leaving a comment and if you liked what you read I encourage you to 'like' and share!
6 Comments data-system-data-id="1479331979760-F5KHOG054UUPH0ADT5LI" data-asset-url="https://static1.squarespace.com/static/54b83c1ee4b095413a4e76fa/54bea123e4b0d8aaa27a310f/582cce0a9f74562118141957/1479398353876/Video+Bag.jpeg" data-record-type="1" data-full-url="/blog/how-to-recording-audio-interview" data-title="7 Considerations When Recording Audio For An Interview">
Posted in Sound Advice and tagged with recording, audio, interview, Documentary, filmmaker, filmmaking